Thursday, April 12, 2012

Pip, Pip, Hooray!

Today is day 20 on that batch of Black Copper Marans eggs that I had set in March.  Originally I started with 14 eggs but had to cull 5 of them because they did not develop.  I'm not certain if maybe the room I had the incubator in got too cold one night or the fertility is off, but this is the most I have ever had to cull from eggs that came from my own birds.  Kind of disappointing especially when I'm trying to fill an order for chicks.  I just set another batch of 19 eggs from the same flock in my other incubator and we will see how many of those develop.

I woke up this morning to see one pip and this is all I have right now.  Black Copper Marans eggs hatch best for me when I use a dry incubating technique for the first 18 days then 65-70% relative humidity for days 18-21.  Zero water is added to the incubator for those 18 days since these eggs do not dry down as readily as lighter-colored eggs.  I have ran lighter eggs with them when using this techinque but it does seem to dry the lighter eggs down too much and results in a lower success rate for those eggs.

The hygrometer that I use does not read lower than 20% humidity and does not even register a reading when the incubator is ran with no water in it.  I know some folks that use this technique for all types of chicken eggs that have had great results so the humidity of the surrounding environment in which the incubator sits plays a part.  But in a wood-heated house in the Northwest, the environment here does not have a lot of humidity to share this time of year.

When we get some chicks to show you all, I will post an update.

Tuesday, April 10, 2012

"Flipping" the Hives

Yesterday and today I am doing what I believe is called "reversing" the hive bodies on my two beehives.  I personally call it "flipping" the hives but then it does sound like I'm trying to sell them on the real estate market.  If you just started your hive this spring with a package of bees or a nuc hive, this is something you will do next year on your over-wintered hive.

Bees tend naturally to move up in their hives just like they would if they lived in an old hollowed out tree.  But the little brood boxes we provide them to live in are quite finite and early in the Spring we beekeepers need to make room for them.  Or at least make what seems to be apparent room by manipulating the hive bodies and the brood frames they contain.

This time of year there should be a cluster of brood in the top, center frames of the hive.  To make the hive feel more roomy by moving the brood-bearing frames to the bottom box, it leaves an entire hive box for the laying queen to work up into.  She'll feel like she has all this new space to lay more eggs and it hopefully delays the natural drive for the colony to swarm in search of a larger home.

Reversing the hives can be a great feat of lifting if you literally remove each hive body and return them to their bottom board.  I did this last year because I took the procedure quite literally but this year I was a bit wiser and understood better why beekeepers performed this ritual every Spring.  

First, if you use a smoker on your bees, make sure it is working well with a good supply of material to keep it running.  You will be literally taking the hive to pieces and the bees will need to be calmed with the smoke.  Also, bring out an extra empty hive body.  This is going to be a place to park some of the frames from both hive boxes and make them a little lighter to lift.

Go through each frame in the top hive box and move any frame that doesn't have brood into the extra box you bought.  Leave any frames with brood in the top hive box.  If you come across a frame which has your queen on it leave it in the top hive box, too.  Now you are ready remove this top box and carefully place it to the side.

Now you should be bent over looking into your lower hive box.  Go through it just like you did with the top hive box but this time when you find any frames containing brood move those frames to the top hive body to join the other brood frames you pulled already.  Move the queen's frame too if you spot her.  You can leave frames that do not contain brood in the lower box or temporarily move them to the hive box you brought out, this will help reduce the weight of the lower hive box.

Lift the lower hive box off the bottom board and set it aside.  Now you have three boxes of angry bees. (Just kidding!)  Brush off all the dead bees and debris off the bottom board.  Return the top hive body, the one containing all the brood, to the bottom board.  Keep the brood frames to the center spots and fill in the sides spots with any of the non-brood frames that you have in the box you brought out with you.

Place what was once the bottom hive box next on top of the box you just placed.  Any remaining frames that are left in the extra box can be placed into this now top box.  Place the inner cover and lid...you're done!

Monday, April 9, 2012

Home-Cured Easter Ham: The Final Chapter


Easter morning arrived, and the ham went into my preheated Bradley Smoker which was 220F.  
 
After putting the ham in the smoker it took an hour for the smoker to reach 200F which is the temperature I maintained for the entire process.  Once this temperature was reached I turned on the hickory smoke.
The recipe called for three ingredients for the ham glaze:

  • 1 ½ packed cups/270 grams dark brown sugar
  • ¾ cup/185 milliliters Dijon mustard
  • 1 tablespoon/20 grams minced garlic
When my husband heard I was going to be using a ham glaze that contained garlic, he begged me to omit it from the recipe.  It just didn't live up to his ideal of an Easter ham so that's what I did: left out the garlic.
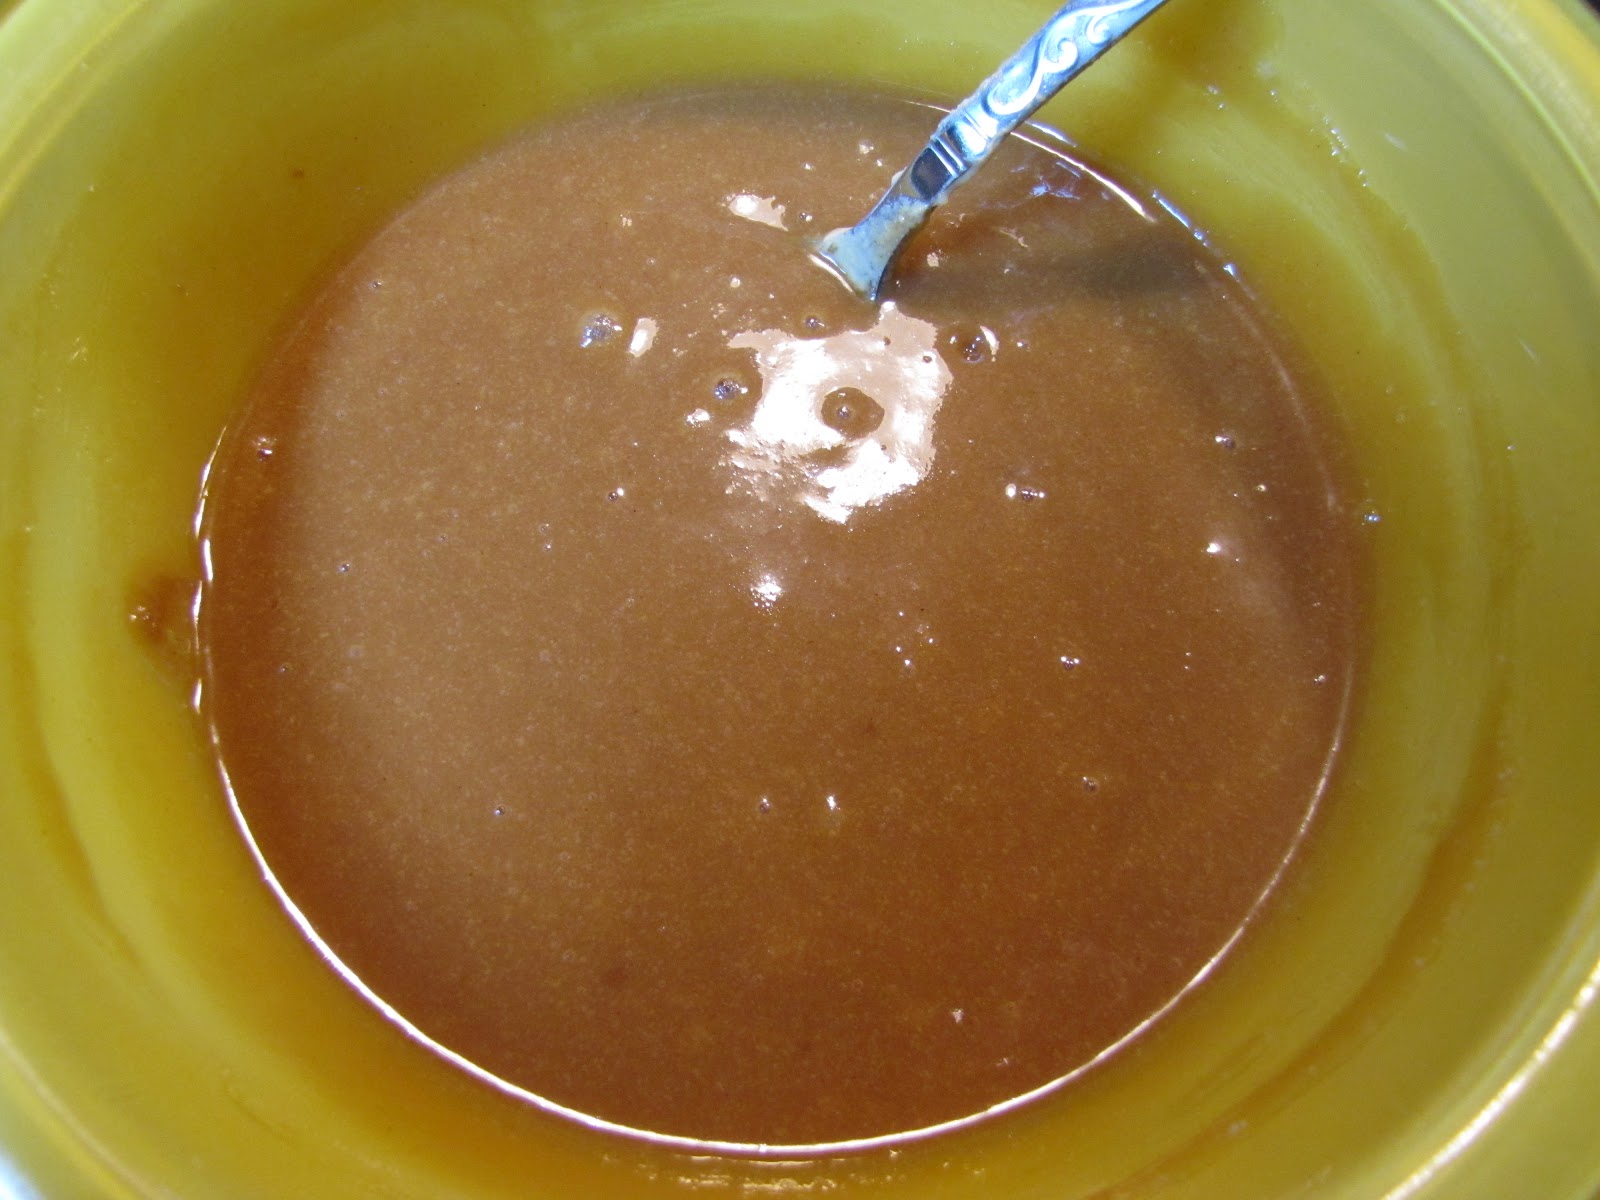
I made the glaze using the dark brown sugar and dijon mustard.  
 
This was applied to the ham after it had smoked for two hours.  Half of this mustard/sugar was reserved to apply after the ham is fully cooked.
The smoking continued for 4 more hours and the ham continued to cook in the 200F smoker until it reached an internal temperature of 155F.  At this time the ham is essentially cooked but I wanted the glaze to carmelize.  The remaining glaze was brushed on and the ham was placed in a 325F preheated oven and baked for 30 minutes.  The glaze was bubbly and beautiful!
This was my fourth home-cured ham and the first time using this ham recipe with which I was really pleased with.  Now I have the ham hock also so I will share with you all my favorite pork and beans recipe soon.

Saturday, April 7, 2012

Home-Cured Easter Ham: Part 2

Tomorrow is the big day so today the Easter ham was removed from the curing brine and rinsed with cold water.  It's beautifully cured with a nice pink tone and is much firmer to the touch than an uncured piece of pork.
 
After thoroughly rinsing the brine from the ham, it was dried off using a paper towel and then placed in the  fridge on a roasting pan to dry.  The recipe I'm following recommends letting it dry in the fridge for 12-24 hours.  My will rest for the entire 24 hours.

Tomorrow morning it will be going into my little smoker bright and early so it won't be late for Easter dinner.

Wednesday, April 4, 2012

The North Wind Doth Blow...


The North wind doth blow and we shall have snow,
And what will poor robin do then, poor thing?
He'll sit in a barn and keep himself warm
and hide his head under his wing, poor thing. 

I saw this poor little fellow in our front yard this morning and was reminded of this old nursery rhyme.  It has been snowing here all day and after the sunshine we experienced yesterday, it is a bit of a downer but only because I want to get started in our gardens.  Luckily there is always work to be done in the house, in my studio and in our barn.

After spending the first 30 years of my life as a Southern Californian city girl, the idea of four seasons parading by every year was a novel idea when we first moved to North Idaho.  The rhythm and fleetingness of life are so much more clearer to me now and I would not trade it for all the snow-less winters (and springs) in the world.

This too shall pass and spring will come...


Tuesday, April 3, 2012

Hungry Bees?


Spring is really slow coming on, again.  You know it's bad when you get excited about a day that will reach 60F almost a week in advance.  Today was one of those days and tomorrow 1 to 3 inches of snow is predicted to fall.  So, I took advantage of the weather to open the hives and add some more feed to the bees.
My plan was to open the hives, remove a frame and add an inline feeder filled with 1:1 sugar solution.  Also, I had left a frame of drone comb (the green one) that needed to get out of there.  I use them during the active season for varroa mite management but that is a whole other blog entry.  A pollen replacement patty was to be added, too.
This hive is already to go:  feeder in on the right and the patty is laying on the top of the bars.  Look at all those bees!  I guess they survived the winter.
   
Both hives were treated to a new inner cover also.  I feel good at the amount of bees in each hive and hope to make "splits" off both hives so we can go into the main nectar flow with four hives.

This is my third spring with my bees and I am still learning.  One thing I'm second guessing myself on is whether or not the bees even need my help this spring.  When I removed a frame from each hive, it was pretty obvious that there is still honey in the hives.  Should I have let them deplete their honey supply more instead of feeding them?  Not quite sure I am doing what is best for them but then I look at the weather for the next week and we only have rain, snow and highs in the 40Fs to look forward to.  Their only food would be what's in the hive since there would be no foraging in that kind of weather.

Keeping my fingers crossed that I did the right thing.  Hopefully we will have another "warm" day to open the hives and see how much brood the queens are producing.  Stay tuned!

Saturday, March 31, 2012

Home-Cured Easter Ham: Part I

My ham and its detached hock defrosted so the prepping and brining have begun.  This is only the fourth ham that I ever cured and smoked on my own.  I am still very much working my way through the apprentice level of ham crafting but I want to encourage you to try one sometime, too.  

On the first three hams, I used the method described by Rytek Kutas in his book Great Sausage Recipes and Meat Curing...a wonderful must-have book.  This recipe requires dextrose amongst its ingredients which I normally keep on hand and for some reason I forgot to replenish my supply.  Luckily my friend pointed me in the direction of this recipe, and it doesn't require dextrose of which I have none. The recipe which I will be doing is in two parts since the brining time is for a week:

American-style Brown-Sugar-Glazed Holiday Ham


The Brine (this week):
  • 1 gallon/4 liters water
  • 1 ½ cups/350 grams kosher salt
  • 2 packed cups/360 grams dark brown sugar
  • 1 ½ ounces/42 grams pink salt (8 teaspoons)
  • One 12- to 15-pound/5.5 to 6.75-kilogram fresh ham, skin and aitch-bone removed
The Glaze (next week when I smoke/cook it):

  • 1 ½ packed cups/270 grams dark brown sugar
  • ¾ cup/185 milliliters Dijon mustard
  • 1 tablespoon/20 grams minced garlic
Since it came from the butcher with the skin removed, I trimmed the excess fat from my fresh pork ham and ham hock.  1/4 inch of outer fat was left on.

 
The brine was made with chilled water and stirred until all the ingredients dissolved.

Though the recipe that I provided the link to does not mention injecting cure into the ham, I did it and recommend that you do it, too.  There is a lot of meat between the outside of the ham and the bone so I inject straight in from the outside to the bone just to make sure that cure in getting inside meat. I set the ham in a non-reactive rimmed container and inject about 2 cup of the brine into it.  What ever drains out of the ham is caught in the container and you can add it to the brining container along with the ham.

Now I like to use ZipLoc 2 gallon reseal-able bags to brine my hams but you can use any non-reactive bucket or container.  Just make sure you put the bag in another container in case of leaks.  Brining time is 6 to 8 days, the recipe recommends "half a day per pound).  Mine will be in for 7 days.

Next week I will be smoking, glazing and cooking my ham.  Looking forward to showing you he technique and the results.