Showing posts with label venison. Show all posts

Friday, June 1, 2012

Home-Grown Dinner

Our growing season here is quite short so eating fresh from the garden is a big deal.  Yesterday was our first chance to actually harvest something from one of our gardens so I decided to try to make a completely home grown meal out of it.

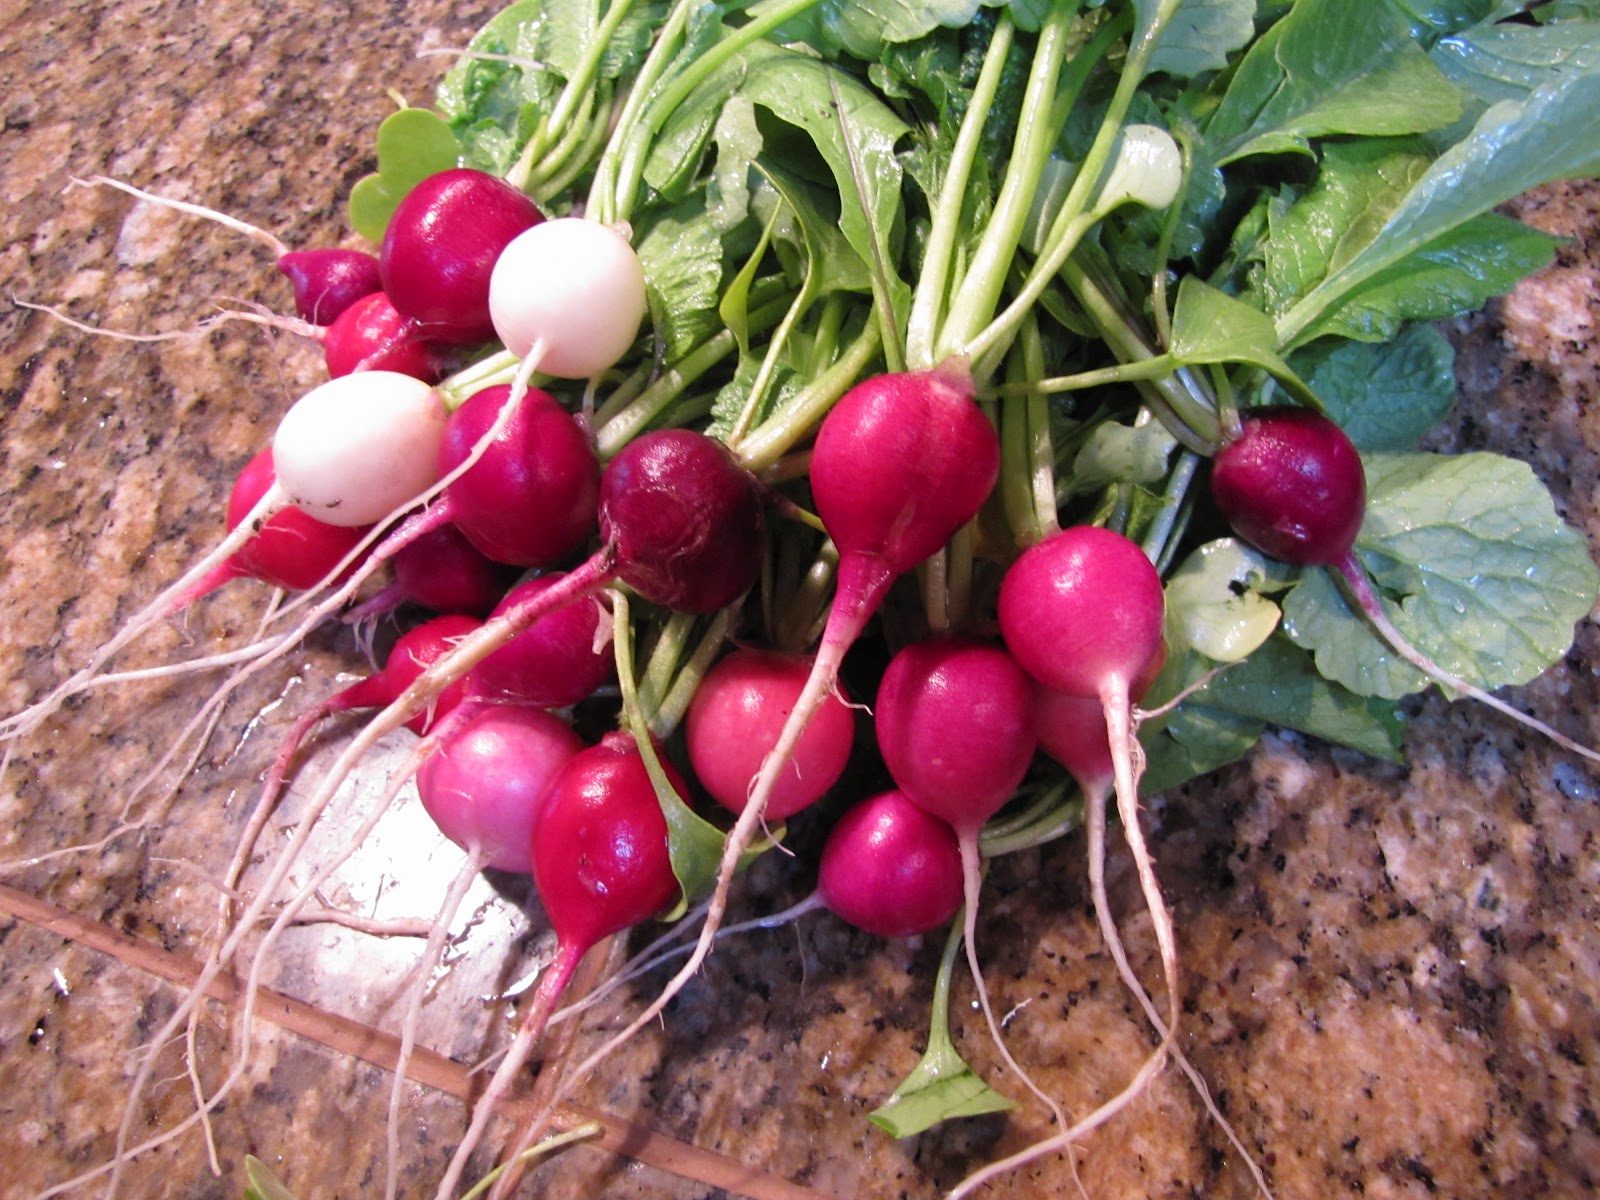
My daughter Emma and I picked spinach, arugula, baby kale and radishes to make a salad.  No tomatoes yet, they are going into the garden this weekend.
I defrosted some elk sirloin from a nice elk harvested off our property last fall. Heated a bit of olive oil in my cast iron skillet and sprinkled a salt and fresh ground pepper on both sides.
 
Into the skillet they go for a pan sear.
 
Four minutes on each side, they were cut pretty thin and I wanted them pink inside.
 
What a great dinner that tasted even better knowing that it came off our place.  With the exception of the ranch dressing!

Thursday, July 14, 2011

Cheddar Brats for Cheaters

This weekend we have a camp out planned at our friend's cabin on Spirit Lake so I am making cheddar brats for all of us to cook over the campfire. When I want to make brats quick and easy I use Penzey's Bratwurst Sausage Seasoning which is a wonderful blend made in Wisconsin.
I also used a cheese product know as Hi Temp Cheddar Cheese. It's a cheese that has an extremely high melting point of around 500F. So it stays intact and does not melt when sausage is cooked or smoked. Cabelas now carries it and it is also available a LEM and Butcher Packer. Here's what I used for my seven pound batch of bratwurst:

  • 4 1/2 pounds of ground venison
  • 2 1/2 pounds of ground pork
  • 7 TBS of Penzey's Bratwurst Seasoning
  • 2 cups of Hi-Temp Cheddar Cheese
  • 1 cup of cold water
  • 16 ft of hog casings (soaked for 30 minutes and rinsed)
The water and the seasoning are mixed together first, then the meat is added and also mixed together. The Hi-Temp Cheddar Cheese is added and mixed after every thing else is well blended.
I used my large Kitchen Aid Pro stand mixer but I have to say that I would not recommend mixing such a large amount in this size mixer, I believe I'll keep it a six pounds or less next time around.
Into my 5 pound stuffer the prepared meat went and was cranked out into hog casings. I twisted the stuffed cases to make links. I'm still working on that skill, it's a balance of not over-loading the casings to the point that there is not room to twist them and form links.

If you have never made any sausage before and want to get your feet wet, this is a great sausage to make especially with the seasoning already measured and mixed for you. Even if you do not have a sausage stuffer you can make patties, too. Enjoy!

Friday, September 25, 2009

Jerky Times Three

I had not done a batch of jerky for a while so I thought I'd try some new recipes that I had found. Usually I like using the jerky kits by High Mountain but I wanted to try something new and truly homemade.

My big worry with making homemade jerky is that it's going to turn out too salty. So, when I tried these recipes I alimented any added salt to the soy sauce-based recipes. I just do not see how they could use any more salt.

A 1/2 teaspoon of liquid smoke could be added to any of these recipes. I cooked mine in a smoker so I did not add any to mine. Venison or elk could be used instead of beef, too.

Teriyaki Jerky
1 cup Yoshida's cooking sauce
1 tsp minced garlic
1/2 tsp salt
1/2 tsp freshly ground blk pepper
2 pounds of beef strips

Grandpa's Jerky

1 1/2 cup soy sauce
2 TB brown sugar
1 tsp minced garlic
1 tsp grated ginger
1 tsp freshly ground blk pepper
2 pounds of beef strips

Spicy Jerky
1 cup soy sauce
2 tsp hot pepper flakes
1 tsp smoked paprika
2 tsp minced fresh garlic
3 TB real maple syrup
2 pounds of beef strips

The steps are the same for each of these recipes:
You can use just about any cut of lean meat. Slice it about 1/4" thick preferably with the grain. It's easier to control your slicing if the meat is still partially frozen. Trim off any excess fat.
Make the marinade and let it rest for 20 minutes before add the meat. This give the ingredients a chance to marry. Add the meat strips to a ziploc bag then pour in the marinade. Close the bag with as little air left behind as possible. Mix the meat with the marinade and place in the fridge for 2 to 12 hours.
After marinading, I did mine at about 11 hours, place them on jerky racks lightly sprayed with Pam.
I placed mine in a preheated smoker using no water and the top vent open all the way. After the smoker's temperature recovered to 150F the smoke was applied for 3 hours. I used Bradley's Special Blend but use any type of wood that you like. I allowed the smoker to reach a temperature of about 170F and maintained it there until the meat was done.

Jerky should cook to an internal temperature of 160F to be safe. I've never tried sticking it with a thermometer though. My test is that it is flexible but there is no give when I pinch it between my fingers.

Since there is no cure used in this recipe, I store it in a ziploc bag in my freezer. Jerky has practically zero water content so it does not really freeze solid and is pretty much ready to eat right out of the freezer without having to defrost it.

Sunday, May 24, 2009

My New Toy, Eh, I Mean Tool

Look at what I got! No, it's not a medieval torture device, it's my new LEM 5lb vertical sausage stuffer. I have finally moved up in the world with this sausage making hobby of mine. Not that I didn't like my Kitchen Aid stuffer but it was pretty slow and made stuffing even small amounts of sausage a time-consuming chore. But I do still love my grinder attachment for my Kitchen Aid mixer. It works great for what I need in a grinder.
My new stuffer is so easy to use. I can load up to 5 pounds of meat in the cylinder and crank out the sausage. The first thing I made with it was smoked venison snack sticks using Nepa's snack sticks recipe. You can visit his blog: Blue Smoke and BBQ.
The snack sticks came out beautiful and delicious. I could not wait to make something else. On the Bradley Smoker Forum, Nepas also posted a Bratwurst recipe that I had to try. Using 3 pounds of ground venison to 2 pounds of ground pork, I followed the recipe and cranked out 5 pounds of "Brats" stuffed into natural hog casings. I even tried making links which was a bit of a challenge this first time around.
We grilled some of these guys up over indirect heat for 8 minutes on each side. They were wonderfully tasty and juicy. Now I'm pouring over recipes looking forward to what I'll "stuff" next. I promise I will share it with you.

Monday, May 4, 2009

Jalapeno + Cheddar + Deer + Smoke = Yum!

I got a chance to smoke up a batch of our favorite deer sausage last weekend...Smoked Jalapeno Cheddar Deer Sausage. This sausage I hold near and dear to my heart because in my quest to learn how to make it I stumbled upon the Bradley Smoker Forum where I not only learned how to smoke sausage and meat but also met a group of some of the nicest folks in the world. I highly recommend the forum to anyone interested in smoking their own food if you own a Bradley smoker or not. There is an incredible wealth of knowledge to be found there.

This a great recipe that I guess could probably be used with elk or beef, too. The venison that I work with is already ground with 15% beef suet when I receive it from the processor. Since the recipe calls for 3 pounds of ground venison make any additions of fat to it before you weigh out the 3 pounds.

I have used both the 38mm edible collagen casings and the natural hog casings. They both work well but prefer the natural hog casing because they are less likely to tear if you accidentally over stuff them. Also, they make a nicer finished product by adhering to the sausage contents when cooked. The collagen casing are edible but they tend not to stick to sausage during the cooking process and you instinctively want to peel them off when you eat the sausage. I do not have this result when making snack sticks using the 19mm collagen casings but I'm not sure why this is the case because I am buying both sizes of the collagen casings from the same source. Maybe someone who knows the reason can post it in the "comments" section at the bottom of this post.
Ingredients:
3 pounds of ground venson already mixed with fat
1 cup of distilled water
3 TBS of Morton Tender Quick, (make sure to level each tablespoon but do not pack it)
3 finely diced large jalapeno chiles
1/2 tsp of garlic powder
1 tsp freshly ground pepper
2 tsp of whole yellow mustard seeds
1 1/2 cup cheddar cheese at about a 1/4" dice
6 to 7 feet of hog casings or 38mm collagen casings

I purchase a product called high melt temperature cheese which can be found at meat processing supply companies like Butcher & Packers. You can use regular cheese from the local grocery store but some of it will melt into the meat due to the temperatures reached during the cooking process. The high melt temperature cheese is wonderful to work with because it will keep its form during the entire process and it is lovely to see all the chunks of cheese in each slice of the sausage.

If you are using natural hog casings soak them for about an hour in cold water and set aside while you make your sausage mixture. In a large mixing bowl place the Morton Tender Quick, garlic powder, yellow mustard seeds, ground pepper and distilled water. Stir this mixture until the Morton Tender Quick dissolves completely. Once the Morton Tender Quick is completely dissolved you are ready to add the meat, cheese and diced jalapenos. Mix this very thoroughly in a big mixer or with your hands (preferably wearing disposable gloves).
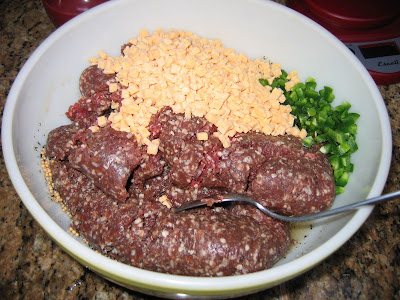
Now you are ready to stuff the sausages. Rinse out the hog casings well after soaking and use whatever stuffing device you prefer, you can see my Kitchen Aid Mixer setup at the top of this post. I personally like to have some pre-cut butcher twine at the ready before I get my hands into stuffing.
Stuff to the lengths that you want and whatever fits your smoker best. I have a 4-shelf Bradley smoker and if I am smoking the sausages on the rack I usually make the sausages 16" to 18" in length. Once stuffed place them on a cookie sheet uncovered in the fridge overnight to cure.
The next morning, preheat the smoker to 130F and place the sausages in the smoker. Let the sausages sit at this temperature (with no smoke) for an hour or until the casings are dry to the touch. Once dry bring the temperature up to 165-170F and apply smoke for 2 to 4 hours depending on taste, I apply 3 hours of hickory smoke to mine. Leave in the smoker until the sausage reaches an internal temperature of 160F. Be careful not to let the smoker get above 170F or the fat will start to render out of the sausages. Once they reach the desired temperature, shock them in a large pot of ice-cold water. Now they are ready to eat and enjoy.

Sunday, March 1, 2009

Jerky: the Easiest Way to Look Like a Pro

This last weekend I wanted to make something in the smoker that was really easy. Emma and I were just getting over a bad case of the flu and poor Greg was in the middle of it. So, to get the satisfying feeling of accomplishing something but not having to spend a ton of time in the preparation of it, I decided to make jerky from a Hi Mountain jerky kit. I highly recommend these kits that are available at sporting good stores and online. The variety flavors are great and directions clear and easy to follow. They work for whole meat jerky and ground meat jerky with two separate directions for both versions.

I'm not going to give all the details because one needs to follow the Hi Mountain 's directions for success but I'll share some pics of what my batch looked like at various stages of preparation. I started with 3+ pounds of venison roast. Hi Mountain's Original Blend is the flavor I used this time around.
I cut the venison into 1/4 inch thick slices. It is much easier to slice it when the meat is still partially frozen. Remove any fat, sinew or silvery membrane from the meat.
After trimming and slicing your meat make sure you weight it. This is how you accurately figure out how much season and cure you need to mix up from your kit. I love using my digital kitchen scale.
The slices need to be patted dry with a paper towel. Place the slices flat on a cookie sheet and sprinkle with the season-cure mixture evenly on both sides.
Once you are done covering the meat with the mixture, put it in a big bowl and mix it up to get the seasons and cure evenly distributed.
Now the seasoned and cure-added meat needs to cure for 24 hours in the fridge. After 24 hours it is ready to place on jerky racks and place into the smoker.
I cooked the jerky at 200F and applied an hour and a half of smoke during the first part of the cooking process. I used Bradley's Special Blend bisquettes since I recently received a variety pack from Bradley and had not tried the blend before. The entire cooking process took about 3 hours.
I'm not exactly sure how to take the internal temperature on a piece of jerky so I just check for doneness by touch. It should be dried but still flexible enough to bend without breaking. Also, there should not be much give when you squeeze it between your fingertips.

When cooked let it rest on the kitchen counter until cool. Then place it in a zip lock bag in the fridge. This will allow the jerky to release a little moisture to its surface and give it a beautiful glossy finish. Now you will have some great jerky that tastes and looks like a pro made it.