Showing posts with label ham. Show all posts

Tuesday, May 8, 2012

My Favorite Split Pea Soup

Remember my Easter Ham?  I held on to the bone that remained from that home and decided to make some Split Pea Soup with it.  It might be warm in other parts of the country but it has remained cool enough here for a bowl of soup to be a treat.  Here is what you will need to make some, too:

Ingredients
  • a ham bone or ham hock
  • 1 pound bag of split peas
  • 2 carrots, diced
  • 1 small onion, diced
  • 1 large celery stalked, diced
  • 2 quarts of water
  • 1 tsp salt
  • 1/4 pepper
 
Place all the ingredients in a large pot or dutch oven with the exception of the ham bone.  
Add the 2 quarts of water and start to heat over medium, high heat.
 
When it starts to boil, add the ham bone and back off the heat to low and cover.

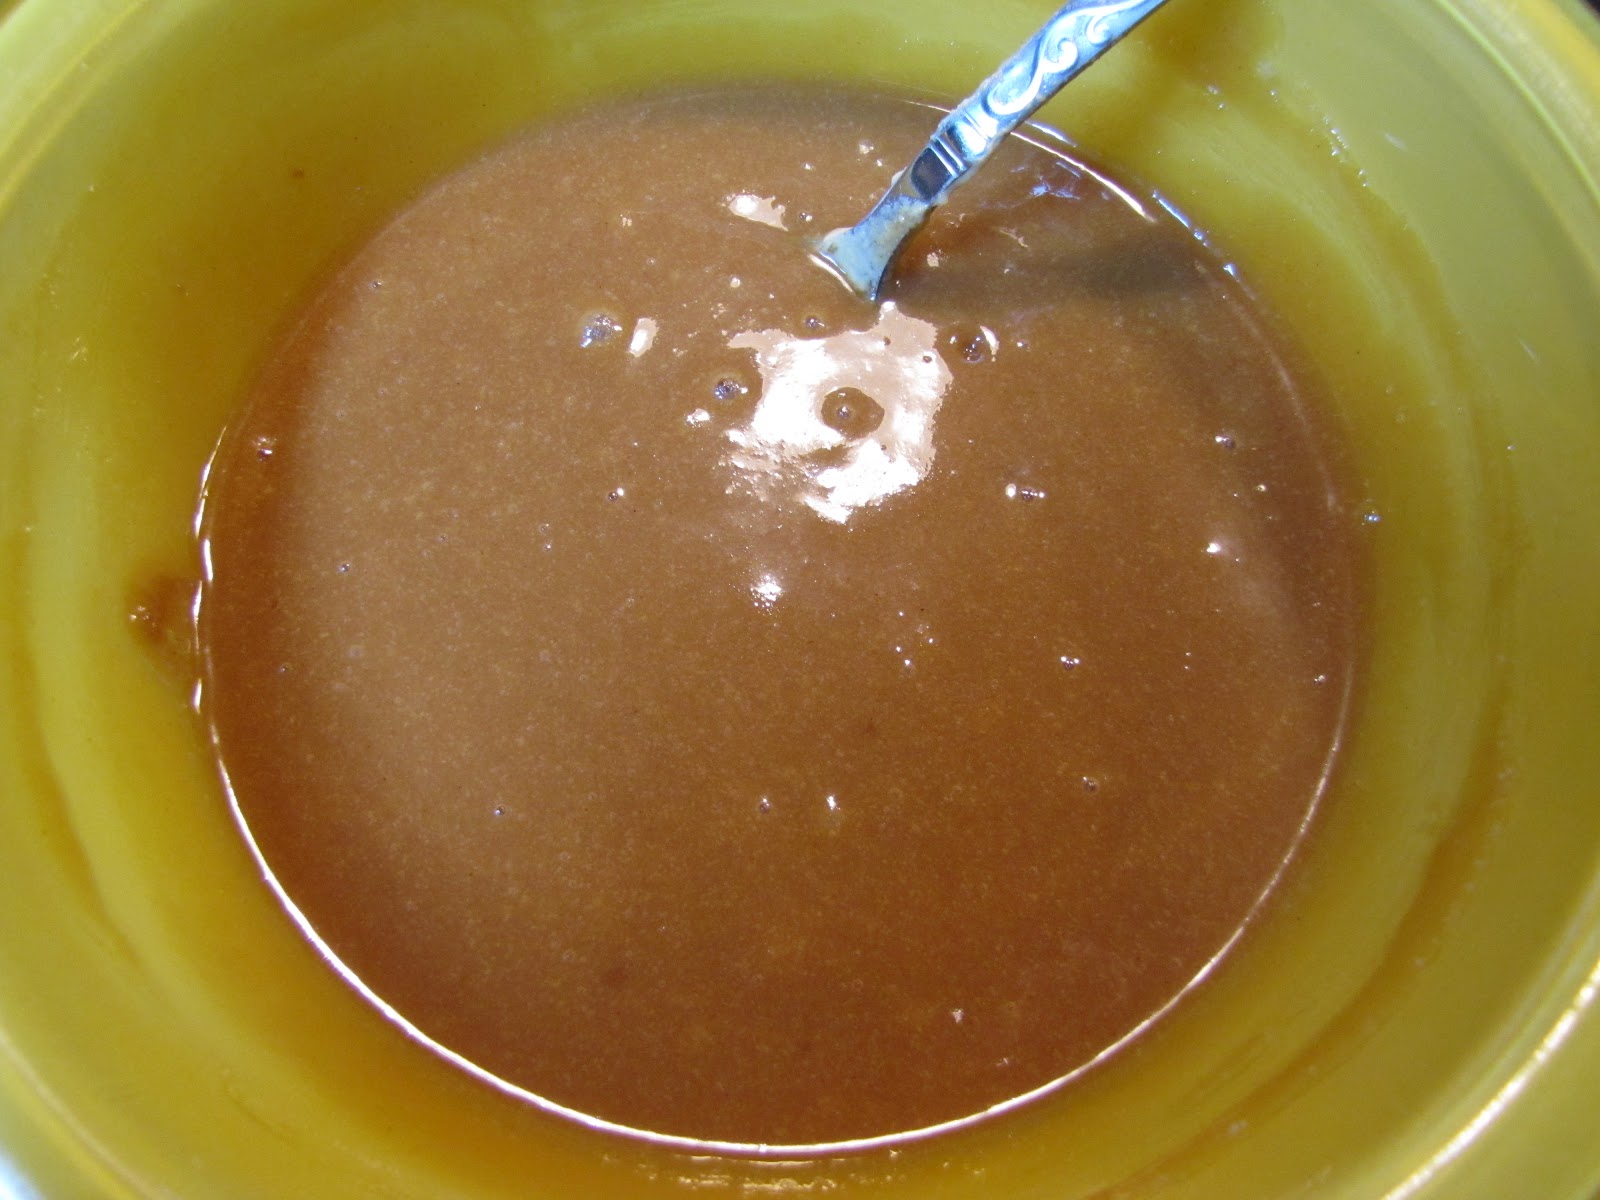
You want the soup to simmer on low until the peas completely dissolve and soup is thick and creamy.  On my cooktop, this took about 3 hours.  Just check your soup every half hour or so to see when it's reached that point.
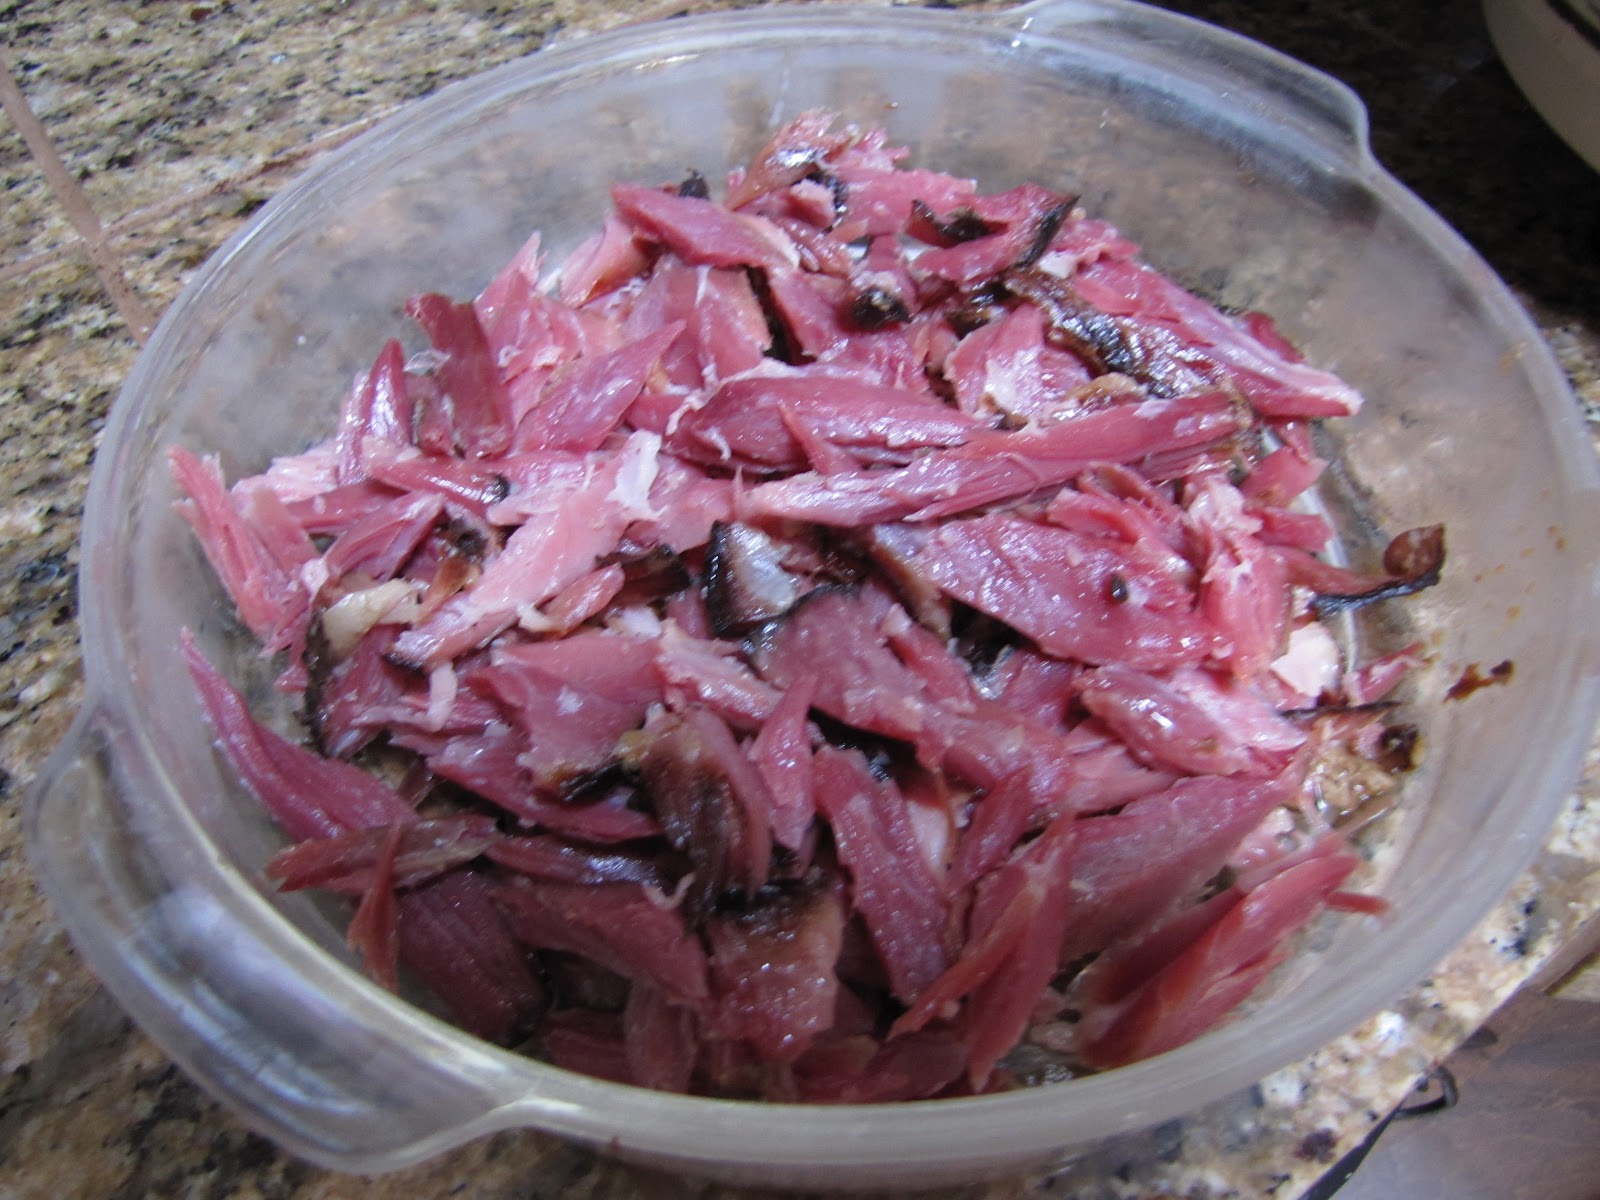
When the soup has reached its desired consistancy, remover the ham bone from the soup.
Once the ham bone is cool enough to handle, strip off the meat into little chunks and return it too the soup.
Now it ready to enjoy.  I served my soup wtih these rolls using a recipe from the Pioneer Woman show on the Food Network.  Definitely a keeper and super easy, too.

Saturday, April 14, 2012

Three Ingredient Pork and Beans


I said I would share my super easy pork and beans recipe that I have been using for over twenty years.  It really is three ingredients if you don't count water as one.  Here is what you'll need:

Ingredients
1 pound bag of pinto beans
3 dried chilis (I used Guajillo chiles)
1 good sized ham hock or chunk of salt pork

This recipe was cooked in a six quart crock pot.  You will want to start this recipe early in the day before you want to eat it. 

Rinse and pick over your pound of pinto beans.  If you have a dried bean that you like better than pinto beans, give them a try.  Put the beans in your crock pot and cover them with water.  Let them soak all day and add more water if they soak it all up.

 
Before you go to bed, add enough water to your soaked beans to a level about an inch above the top of the beans.  Place your three dried chiles on top.  I used a pretty mild guajillo chile but you can use any kind you like.  The guajillo does have great flavor and works well if you have kids (like I do!) that aren't quite ready for really hot food.  Turn your crock pot on low and let it cook all night, covered.

The next morning give the beans a stir and add more water if they need it.  They will continue to absorb water has they cook so more can be added as need.
Before you put the lid back on the crock pot place your ham hock on top of the beans.  I used the ham hock that I smoke on Easter.  Return the lid to the crock pot and continue to cook for 8 hours at low.
After 8 hours of slow cooking remove the ham hock and the chiles.  Discard the chiles and once the ham hock is cool enough to handle, strip all the meat off of it.
Return the meat back to the beans and enjoy.  Our family really loves to have a side of cornbread when I serve these beans.

Monday, April 9, 2012

Home-Cured Easter Ham: The Final Chapter


Easter morning arrived, and the ham went into my preheated Bradley Smoker which was 220F.  
 
After putting the ham in the smoker it took an hour for the smoker to reach 200F which is the temperature I maintained for the entire process.  Once this temperature was reached I turned on the hickory smoke.
The recipe called for three ingredients for the ham glaze:

  • 1 ½ packed cups/270 grams dark brown sugar
  • ¾ cup/185 milliliters Dijon mustard
  • 1 tablespoon/20 grams minced garlic
When my husband heard I was going to be using a ham glaze that contained garlic, he begged me to omit it from the recipe.  It just didn't live up to his ideal of an Easter ham so that's what I did: left out the garlic.
I made the glaze using the dark brown sugar and dijon mustard.  
 
This was applied to the ham after it had smoked for two hours.  Half of this mustard/sugar was reserved to apply after the ham is fully cooked.
The smoking continued for 4 more hours and the ham continued to cook in the 200F smoker until it reached an internal temperature of 155F.  At this time the ham is essentially cooked but I wanted the glaze to carmelize.  The remaining glaze was brushed on and the ham was placed in a 325F preheated oven and baked for 30 minutes.  The glaze was bubbly and beautiful!
This was my fourth home-cured ham and the first time using this ham recipe with which I was really pleased with.  Now I have the ham hock also so I will share with you all my favorite pork and beans recipe soon.

Saturday, April 7, 2012

Home-Cured Easter Ham: Part 2

Tomorrow is the big day so today the Easter ham was removed from the curing brine and rinsed with cold water.  It's beautifully cured with a nice pink tone and is much firmer to the touch than an uncured piece of pork.
 
After thoroughly rinsing the brine from the ham, it was dried off using a paper towel and then placed in the  fridge on a roasting pan to dry.  The recipe I'm following recommends letting it dry in the fridge for 12-24 hours.  My will rest for the entire 24 hours.

Tomorrow morning it will be going into my little smoker bright and early so it won't be late for Easter dinner.

Saturday, March 31, 2012

Home-Cured Easter Ham: Part I

My ham and its detached hock defrosted so the prepping and brining have begun.  This is only the fourth ham that I ever cured and smoked on my own.  I am still very much working my way through the apprentice level of ham crafting but I want to encourage you to try one sometime, too.  

On the first three hams, I used the method described by Rytek Kutas in his book Great Sausage Recipes and Meat Curing...a wonderful must-have book.  This recipe requires dextrose amongst its ingredients which I normally keep on hand and for some reason I forgot to replenish my supply.  Luckily my friend pointed me in the direction of this recipe, and it doesn't require dextrose of which I have none. The recipe which I will be doing is in two parts since the brining time is for a week:

American-style Brown-Sugar-Glazed Holiday Ham


The Brine (this week):
  • 1 gallon/4 liters water
  • 1 ½ cups/350 grams kosher salt
  • 2 packed cups/360 grams dark brown sugar
  • 1 ½ ounces/42 grams pink salt (8 teaspoons)
  • One 12- to 15-pound/5.5 to 6.75-kilogram fresh ham, skin and aitch-bone removed
The Glaze (next week when I smoke/cook it):

  • 1 ½ packed cups/270 grams dark brown sugar
  • ¾ cup/185 milliliters Dijon mustard
  • 1 tablespoon/20 grams minced garlic
Since it came from the butcher with the skin removed, I trimmed the excess fat from my fresh pork ham and ham hock.  1/4 inch of outer fat was left on.

 
The brine was made with chilled water and stirred until all the ingredients dissolved.

Though the recipe that I provided the link to does not mention injecting cure into the ham, I did it and recommend that you do it, too.  There is a lot of meat between the outside of the ham and the bone so I inject straight in from the outside to the bone just to make sure that cure in getting inside meat. I set the ham in a non-reactive rimmed container and inject about 2 cup of the brine into it.  What ever drains out of the ham is caught in the container and you can add it to the brining container along with the ham.

Now I like to use ZipLoc 2 gallon reseal-able bags to brine my hams but you can use any non-reactive bucket or container.  Just make sure you put the bag in another container in case of leaks.  Brining time is 6 to 8 days, the recipe recommends "half a day per pound).  Mine will be in for 7 days.

Next week I will be smoking, glazing and cooking my ham.  Looking forward to showing you he technique and the results.


Friday, March 23, 2012

Time for Some Ham and Eggs

I'm not exactly sure why this year I have been hit with a bad case of either cabin fever or spring fever...maybe I'm afflicted with both! This was the view out my window yesterday and it just seemed beautiful and depressing all at the same time. The day before I was looking at one of our gardens thinking maybe I'll start digging it up and get ready to plant some spinach and arugula in it next week but now once again it's buried under the snow. Alas, life in North Idaho where the news of Global Warming just hasn't arrived yet.
But I am being proactive in battling this depression by defrosting a fresh ham which I will start to cure in a week. This way it should be done for Easter. I will share with you how I do it as soon as I start curing it.
Also, this evening, I am going to set 14 fertile eggs from my French Black Copper Marans flock into my trusty incubator. These eggs are from my new generation of birds that started laying late last summer. This breed of chickens lay a beautiful dark brown egg that is darkest at the beginning of their laying cycle.

So, in a little over two weeks I should have a lovely ham for Easter Sunday and in three weeks a batch of chicks. I will keep you all posted.